
What Are Brake Line Nuts?
Brake line nuts, also called brake line fittings or flare nuts, are specialized fasteners that connect metal brake lines to brake system components such as the master cylinder, brake calipers, wheel cylinders, and junction blocks. These fittings create a sealed connection that prevents brake fluid from leaking while maintaining the hydraulic pressure essential for stopping your vehicle safely.
Most automotive brake systems use either SAE (45-degree double flare) or ISO/DIN (bubble flare) fittings. The fitting type must match your vehicle's specifications—mixing fitting types is a common cause of leaks and failures. These fittings are typically made of brass or steel and feature fine threads that require careful handling during installation.
Why Proper Tightening Matters
Proper brake line nut tightening is crucial because it directly affects your ability to stop your vehicle. When you press the brake pedal, hydraulic fluid is pressurized throughout the brake system. Even a small leak can introduce air into the system, causing a spongy brake pedal and dramatically reduced stopping power. A complete failure at highway speeds can be catastrophic.
Key Fact: Brake systems typically operate at pressures between 800-2000 PSI during hard braking. A properly tightened fitting is the only barrier preventing this high-pressure fluid from escaping.
Beyond safety, proper tightening prevents costly damage to fittings and brake lines. Over-tightened fittings can crack, strip threads, or damage the flare seal. Under-tightened connections will leak immediately or develop leaks over time as the vehicle vibrates during normal driving. Getting the torque right the first time saves both money and time.
Risks of Improper Tightening
Over-Tightening Dangers
Applying excessive force when tightening brake line nuts is one of the most common mistakes made by inexperienced DIYers. Over-tightening can crack the brass fitting, damage the flare seal, strip the threads in the receiving port, or distort the tubing itself. Once damaged, the fitting cannot create a proper seal and must be replaced—often requiring the entire brake line to be fabricated fresh.
Under-Tightening Consequences
Fittings that are not adequately tightened will leak brake fluid. Initially, this may appear as minor seepage, but under the vibration and pressure cycles of normal driving, the leak will worsen. Losing brake fluid leads to air entering the hydraulic system, resulting in a spongy pedal that travels too far before engaging the brakes. In severe cases, the pedal may go to the floor with no braking action at all.
Cross-Threading Problems
Cross-threading occurs when a fitting is forced into the port at an angle, damaging both the fitting and port threads. This is particularly common when working in tight spaces where visibility is limited. A cross-threaded connection cannot be made leak-free and typically requires replacing both the brake line and the component it connects to—an expensive mistake that is easily avoided with patience and proper technique.
Required Tools and Equipment
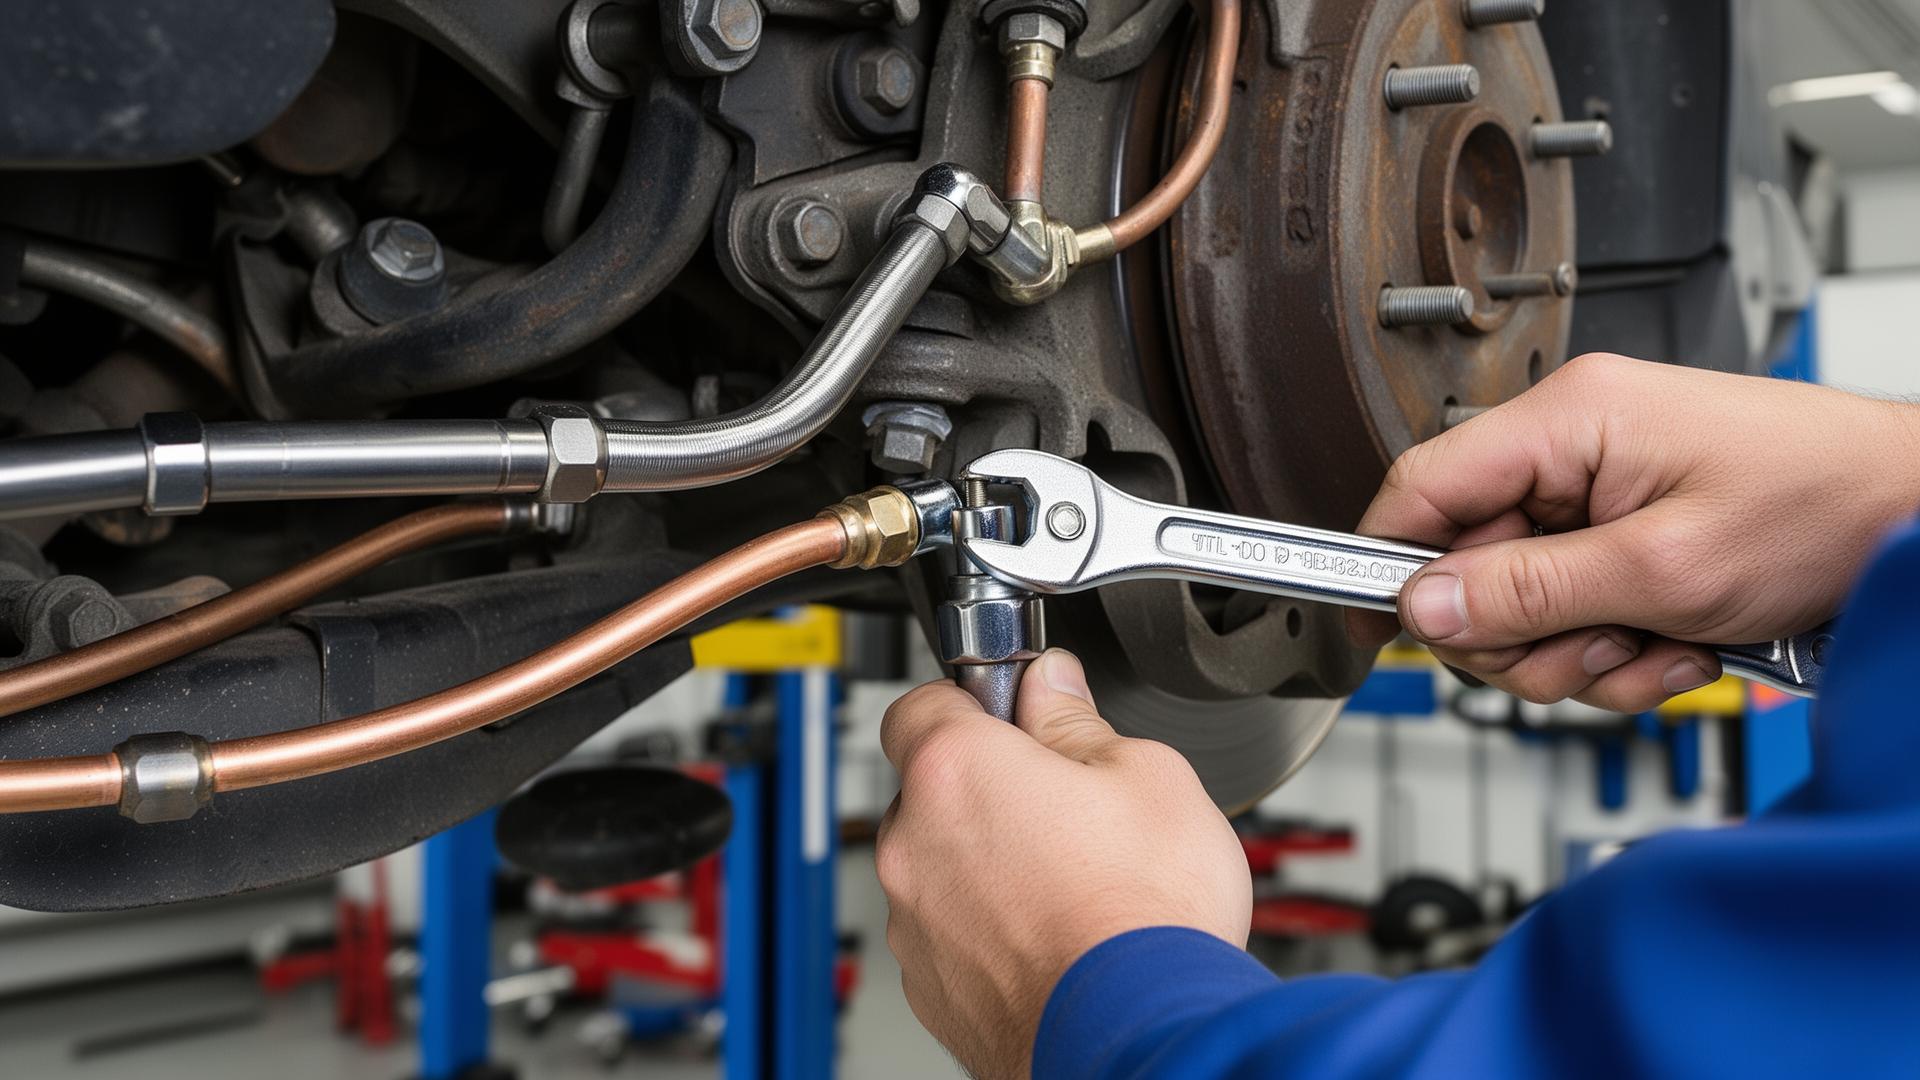
- Flare Nut Wrench (Line Wrench): Essential for brake work. Unlike open-end wrenches, these grip five of six sides of the nut, preventing rounding. Common sizes include 10mm, 11mm, 3/8", and 7/16".
- Torque Wrench: A low-range torque wrench capable of measuring 10-20 ft-lbs accurately ensures consistent, correct tightening.
- Brake Cleaner: Removes grease, dirt, and old fluid that can contaminate the seal surface.
- Clean Lint-Free Rags: Prevents debris from entering the brake system during work.
- Safety Glasses: Brake fluid is corrosive to eyes and paint.
- Nitrile Gloves: Protects hands from brake fluid exposure.
- Fresh Brake Fluid: DOT 3 or DOT 4 as specified by your vehicle manufacturer.
- Brake Bleeding Kit: Required to remove air after any line work.
Pro Tip: Never use a standard open-end wrench on brake line nuts. The soft brass fittings round easily, making removal impossible without damaging the line.
Step-by-Step Guide: How to Properly Tighten Brake Line Nuts
- Safely Support the Vehicle: Position the vehicle on a level surface and support it with jack stands rated for your vehicle's weight. Never rely solely on a hydraulic jack. Engage the parking brake and chock the wheels remaining on the ground.
- Clean the Work Area: Spray brake cleaner on the fitting and surrounding area. Use a clean rag to remove all dirt, grease, and debris. Inspect the fitting and port threads for damage or corrosion.
- Inspect the Flare: Examine the end of the brake line where the flare is formed. Look for cracks, uneven surfaces, or deformation. A damaged flare cannot seal properly and requires line replacement.
- Align and Hand-Thread: Carefully position the brake line so the fitting aligns straight with the port. Thread the nut by hand, turning clockwise until finger-tight. You should feel smooth, consistent resistance—any grinding or binding indicates cross-threading.
- Apply the Flare Nut Wrench: Slide the flare nut wrench over the fitting. Ensure it is fully seated on all contact surfaces before applying any torque.
- Tighten to Specification: Using steady pressure, tighten the fitting to approximately 10-15 ft-lbs (13-20 Nm). The fitting should feel snug with moderate resistance. Stop immediately if you feel the wrench suddenly get easier—this indicates thread stripping.
- Bleed the Brake System: After completing all connections, bleed the brake system to remove trapped air. Start with the wheel furthest from the master cylinder and work toward the closest. Maintain proper fluid level throughout.
- Pressure Test: Have an assistant firmly press and hold the brake pedal while you inspect each fitting for leaks. The pedal should remain firm and high. Repeat after a short test drive at low speed in a safe area.
Using YouTube Tutorials Effectively
YouTube has become an invaluable resource for DIY mechanics, offering visual demonstrations that written guides cannot match. However, the quality and accuracy of automotive content varies enormously. When searching for brake line tutorials, use specific terms like "flare nut wrench technique," "brake line torque specs," or "proper brake line installation" to find detailed, professional content.
Look for creators who demonstrate proper safety practices, use correct tools, and explain the reasoning behind each step. Channels operated by ASE-certified technicians or professional shops typically provide more accurate information than casual hobbyist content. Pay attention to production quality—professional lighting and clear close-up shots of the work indicate a serious commitment to educational content.
Verification Tip: Always cross-reference YouTube tutorials with your vehicle's factory service manual. Specifications vary between makes and models, and general guidance may not apply to your specific situation.
Common Mistakes Seen in YouTube Brake Repair Videos
- Using Standard Wrenches: Many videos show mechanics using open-end wrenches, which damages fittings. Always insist on flare nut wrenches.
- Skipping the Hand-Thread Step: Some creators go straight to wrench tightening, risking cross-threading that isn't visible on camera.
- Over-Torquing "Just to Be Safe": The "quarter turn past snug" advice varies widely and often results in over-tightening. Use a torque wrench.
- Ignoring Cleanliness: Rushing through without cleaning fittings introduces contaminants that cause leaks and component damage.
- Incomplete Bleeding Procedures: Some videos show partial bleeding that leaves air in the system. Proper bleeding is essential.
- No Final Inspection: Professional work includes pressure testing and test drives that many amateur videos skip entirely.
Troubleshooting Leaks After Tightening
If your brake line connection leaks after tightening, do not simply apply more force. First, carefully loosen the fitting and inspect both the flare and the mating surface inside the port. Common issues include debris trapped between surfaces, a damaged or improperly formed flare, mismatched fitting types (SAE vs. ISO), or thread damage from cross-threading.
Clean both surfaces thoroughly with brake cleaner and a lint-free cloth. Re-examine the flare under good lighting—hairline cracks may not be visible without close inspection. If the flare shows any damage, the brake line must be replaced or re-flared using a quality flaring tool. Attempting to seal a damaged flare by over-tightening creates a false sense of security and will fail under pressure.
For persistent leaks with no visible damage, verify you have the correct fitting type for your vehicle. Installing an SAE fitting into an ISO port (or vice versa) will never seal properly regardless of torque. Consult your vehicle's service manual or a parts specialist to confirm compatibility before proceeding.